Flooring is an important part of any space, whether it’s residential or commercial. It not only adds to the aesthetics but also plays a significant role in functionality. One way to enhance both these aspects is by applying a floor coating. So, what is the process of coating a floor?
Floor coating involves applying a protective layer on the surface of the floor. This layer serves multiple purposes, from protecting the floor from wear and tear to enhancing its appearance. In this article, we will dive into the process of coating a floor. We will explore different types of coatings, focusing more on epoxy coating.
We will also guide you through the step-by-step process of preparing your floor for coating, applying the coating, and maintaining it, in case you’re planning on doing it yourself! Whether you love DIY, own a home, or are a professional in the construction industry, this guide will provide you with valuable insights into the floor coating process.
Table of Contents
Understanding Floor Coatings
Floor coatings are protective layers applied to the surface of a floor. They serve to protect the floor from damage caused by traffic, spills, and other forms of wear and tear.
In addition to providing protection, floor coatings also enhance the aesthetic appeal of the floor. They come in a variety of colors and finishes, allowing you to customize the look of your floor to match your decor. Whether you’re looking to protect your garage floor or add a touch of elegance to your kitchen, there’s a floor coating that’s right for you.
Types of Floor Coatings
There are several types of floor coatings available, each with its own set of pros and cons. The type of coating you choose will depend on the type of floor you have and the specific needs of your space.
Some of the most common types of floor coatings include:
- Epoxy Coatings: Known for their durability and resistance to chemicals, epoxy coatings are a popular choice for garages and industrial spaces.
- Polyurethane Coatings: These coatings are resistant to UV light and are often used in outdoor spaces.
- Acrylic Coatings: Acrylic coatings dry quickly, are easy to apply and are often times cheaper, making them a good choice for DIY projects.
Each of these coatings has its own application process and maintenance requirements, so it’s important to do your research before making a decision.
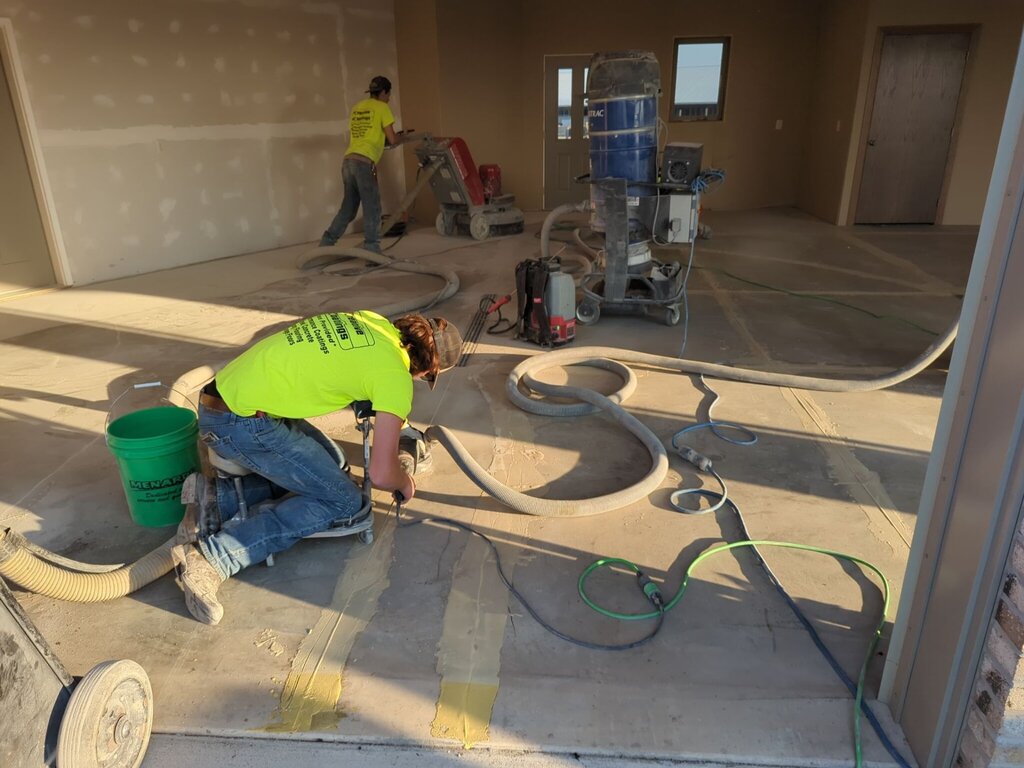
Preparing Your Floor for Coating
Before you can apply a floor coating, you need to prepare the surface. This is perhaps the most important step in the floor coating process. The first step is to clean the floor thoroughly. This involves removing any dirt, dust, or debris that could interfere with the adhesion of the coating. Next, you need to repair any damage to the floor. This could include filling in cracks or holes or sanding down any rough spots. Finally, you need to ensure the floor is completely dry before applying the coating. Any moisture on the floor can cause the coating to bubble or peel.
Cleaning and Repairing the Surface
Cleaning the floor involves sweeping and mopping to remove any loose dirt or dust. For stubborn stains or grease, you may need to use a degreaser or a scrub brush. Once the floor is clean, inspect it for any damage. Small cracks or holes can be filled in with a concrete patch product.
For larger repairs, you may need to hire a professional. It’s important to address these issues before applying the coating to ensure a smooth, even finish.
Assessing Moisture Content
Before applying a floor coating, it’s important to check the moisture content of the floor. Too much moisture can cause the coating to fail. You can check the moisture content of a concrete floor using a moisture meter. This device measures the amount of moisture in the concrete.
If the moisture content is too high, you may need to wait for the floor to dry out before applying the coating. Alternatively, you can use a moisture barrier product to seal the floor.
Priming the Floor
Priming the floor is an optional step, but it can improve the adhesion of the coating. A primer can also help to seal the floor and prevent moisture from seeping through. To apply the primer, you’ll need a paint roller or brush. Follow the manufacturer’s instructions for the best results.
Once the primer is dry, you’re ready to apply the floor coating. Remember to work in a well-ventilated area and wear protective gear to protect your skin and eyes.
Bond Testing
Bond testing is important when applying floor coatings. It helps make sure the coating sticks to the floor. First, a small amount of the coating is put on the floor and left to dry. Then, check for any problems like the coating not sticking well, bubbles, or peeling. Doing this test is important, as it helps find any issues early on and makes sure the coating lasts a long time.
For more information on bond testing, check out our guide to what is a bond test and why is it important?
Looking to get your garage floor professionally coated? Creative Coatings would be honored to coat your floor! Get a free quote now by calling us (320)-808-3284 or by contacting us directly on our site!

The Epoxy Coating Process
Epoxy coating is a popular choice for floor coatings due to its durability and resistance to chemicals. The process involves mixing two components: the epoxy resin and the hardener.
Once mixed, the epoxy coating must be applied quickly before it starts to harden. The coating is typically applied in two or more layers for the best results.
Mixing the Epoxy Coating
To mix the epoxy coating, you’ll need to combine the epoxy resin with the hardener. The exact ratio will depend on the specific product you’re using.
It’s important to mix the components thoroughly to ensure a smooth, even coating. Be sure to follow the manufacturer’s instructions for the best results.
Applying the Epoxy Coating
Applying the epoxy coating involves spreading it evenly over the floor using a roller or squeegee. Start in one corner of the room and work your way toward the exit to avoid stepping on the wet coating.
Make sure to cover the entire floor, including the edges and corners. It’s also important to apply the coating in a thin, even layer to prevent bubbles or uneven spots.
Curing and Drying Time
After applying the epoxy coating, you’ll need to wait for it to cure and dry. This can take anywhere from a few hours to several days, depending on the product and the conditions.
During this time, it’s important to keep the room well-ventilated and avoid walking on the floor. Once the coating is fully cured, it will be hard and durable, ready for use.
Conclusion: The Benefits of a Properly Coated Floor
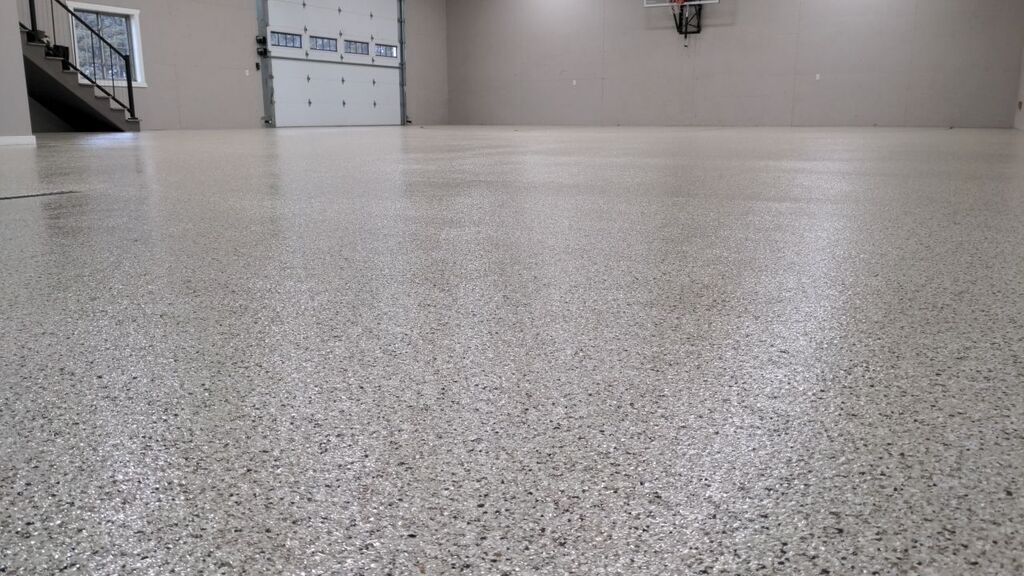
A properly coated floor not only enhances the aesthetic appeal of your space but also provides a durable, protective layer. It can withstand heavy traffic, resist stains and spills, and require less maintenance.
In conclusion, investing time and effort in the floor coating process can yield long-term benefits, making it a worthwhile endeavor for both residential and commercial properties.