Concrete floors are known for their durability and low maintenance. However, cracks and chips can appear over time, compromising their integrity and aesthetics, and will need to be repaired, especially if you want to apply epoxy flooring. This guide will walk you through how to repair cracks and chips in a concrete floor. We’ve got you covered from assessing the damage to applying the final sealant.
Whether you’re a homeowner, a DIY enthusiast, or a property manager, this step-by-step guide will empower you to restore your concrete floor to its former glory and beyond!
Table of Contents
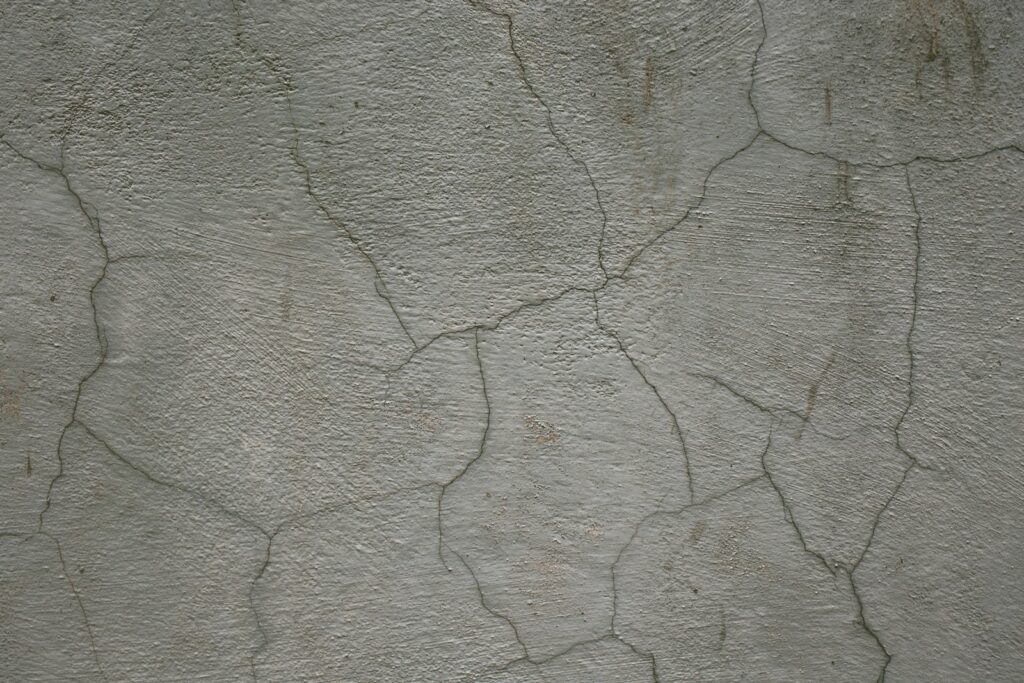
Assessing the Damage
Before you start the repair process, it’s crucial to assess the extent of the damage. Look for cracks, chips, and pits on the surface of your concrete floor.
The size and depth of these imperfections will determine the repair method you’ll use. Small cracks and chips can be fixed with a simple patching compound, while larger ones may require epoxy fillers. Remember, a thorough assessment is key to a successful repair.
Safety First: Preparing to Repair
Before you begin, ensure you have the right safety gear. Concrete dust can be harmful if inhaled, and some repair products can irritate the skin. Here’s a quick checklist of safety items you’ll need:
- Safety glasses
- Dust mask
- Work gloves
- Knee pads (for comfort while working on the floor)
Remember, safety should always be your priority.
Tools and Materials You Will Need
To repair your concrete floor, you’ll need some specific tools and materials. These include:
- A wire brush or angle grinder for cleaning and widening cracks
- A shop vacuum for removing dust and debris
- A trowel or putty knife for applying the repair compound
- Concrete repair compound or epoxy filler, depending on the size of the cracks or chips
Cleaning the Area
Before you start the repair, it’s crucial to clean the damaged area. Use a wire brush or angle grinder to remove loose concrete and debris from the cracks or chips. Then, vacuum the area with a shop vacuum to ensure it’s free from dust. Be thorough, as it can make all the difference in the final product.
Repairing Small Cracks and Chips
For small cracks and chips, a concrete patching compound is often sufficient. Mix the compound according to the manufacturer’s instructions. Then, using a putty knife or trowel, press the compound into the crack or chip. Ensure the compound is level with the surrounding surface for a smooth finish.
Addressing Pitted Concrete and Larger Cracks
For larger cracks and pitted areas, an epoxy filler is a better choice. Epoxy fillers are stronger and more durable than patching compounds. Apply the epoxy filler into the crack or pit, ensuring it’s level with the surrounding surface. Allow the filler to dry and cure according to the product’s instructions.
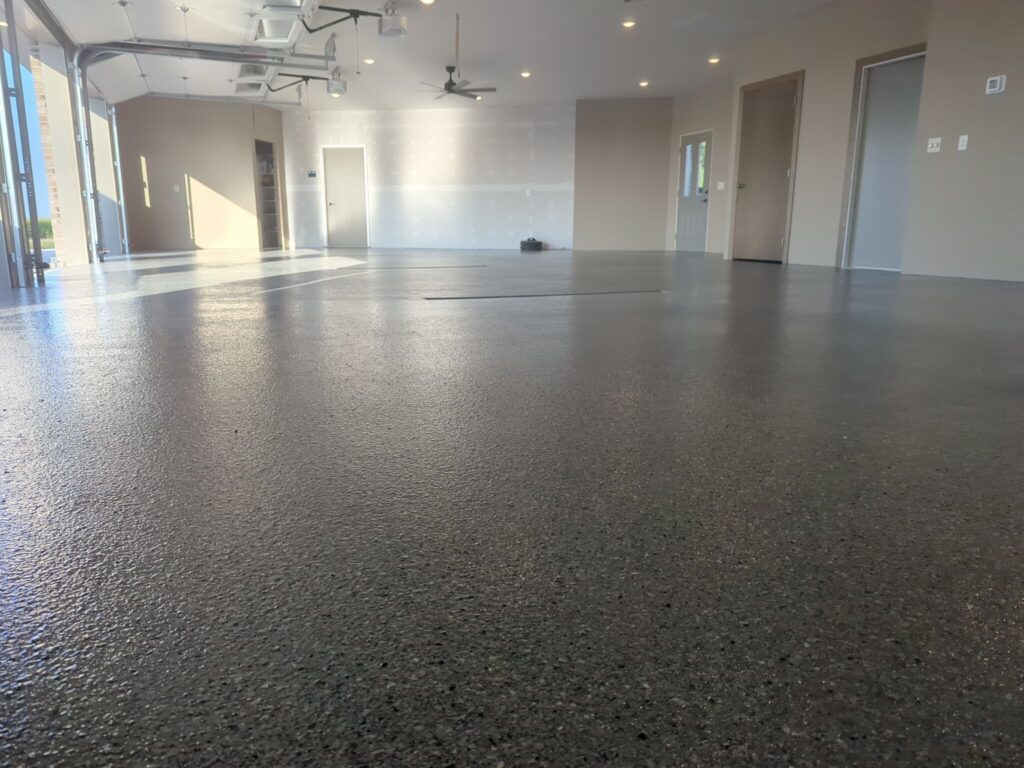
Finishing Touches: Smoothing and Sealing
Once the repair material has fully cured, smooth the surface. Use a diamond grinder to smooth out the repaired surface. Finally, apply a concrete sealer for added protection and longevity of your repair work.
When to Call a Professional
Sometimes, the damage may be too severe or overwhelming for a DIY repair. If you notice deep, wide cracks or sinking areas, it could turn into a much bigger project and might be more worthwhile to call a professional.
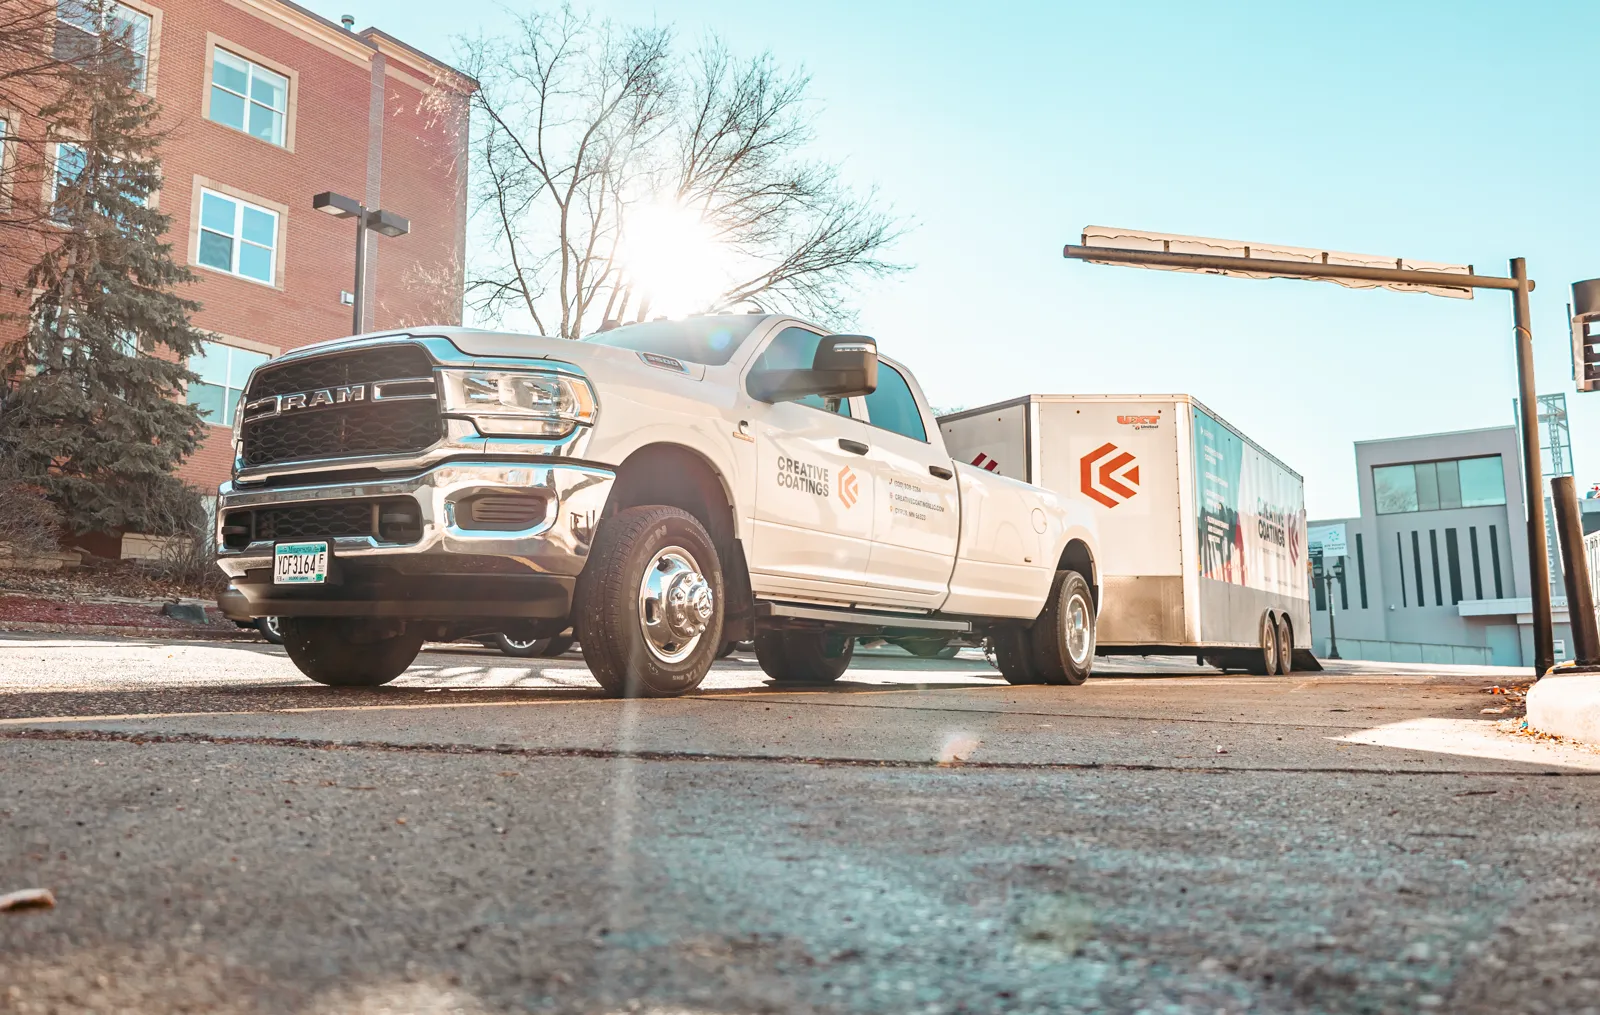
Looking to get your garage floor professionally done? Creative Coatings would be honored to coat your floor! Get a free quote now by calling us (320)-808-3284 or by contacting us directly on our site!

Conclusion
Repair your concrete floor confidently with tools, expert guidance, and step-by-step instructions. Transform the worn-out floor into a durable, aesthetically pleasing surface that enhances space and functionality. This rewarding DIY project is a cost-effective home upgrade, and is essential if you intend to apply an epoxy coating to your floor!