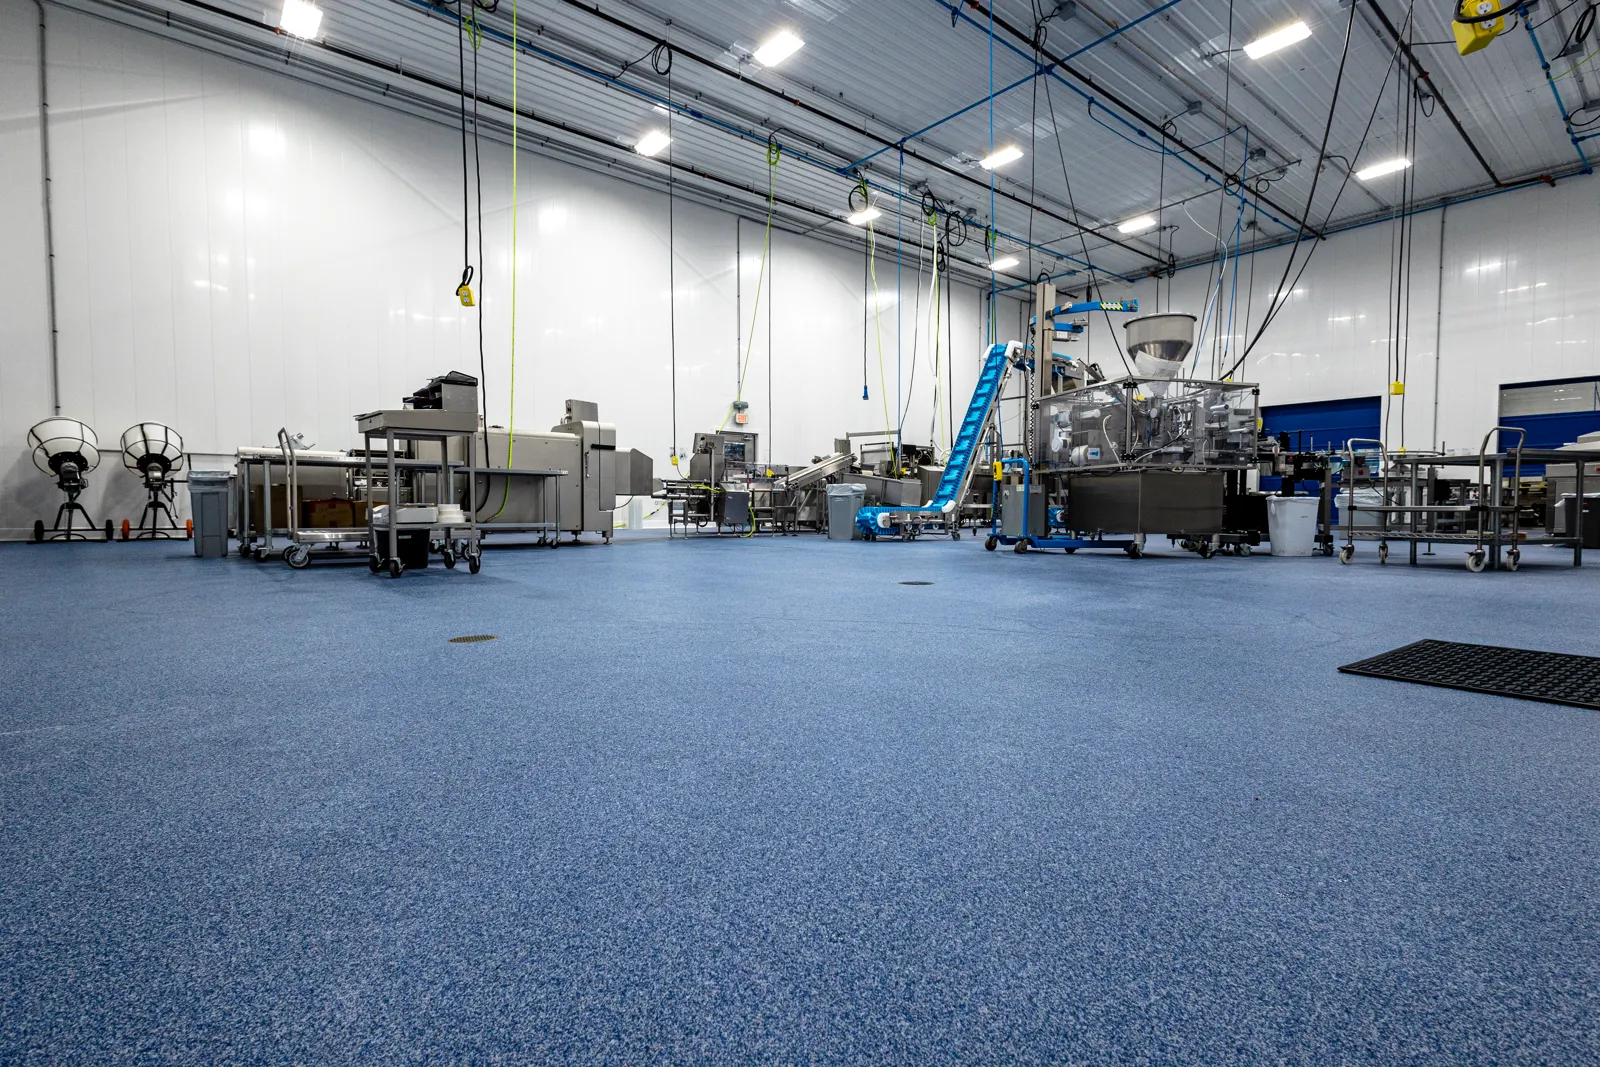
Your garage floor goes through a lot. From heavy vehicles to oil spills, it’s constantly under stress. A garage floor epoxy coating can be a very good solution as It’s durable, stain-resistant, and it can look great. But, how do you apply it? What are the steps involved? This guide will walk you through the process of how to coat garage floor epoxy.
From preparation to application, we’ve got you covered. Whether you’re a DIY enthusiast or a homeowner looking to improve your garage, this guide is for you!

Table of Contents
Benefits of Epoxy Coating for Your Garage Floor
The epoxy coating offers several benefits for your garage floor. First, it’s incredibly durable. It can withstand heavy traffic, dropped tools, and chemical spills. This makes it perfect for busy garages like the home mechanic or motorcycle enthusiast.
Second, it’s resistant to stains. Oil, grease, and other common garage spills can be easily cleaned up as the coating prevents liquids from being absorbed into the floor. Lastly, it can greatly enhance the look of your garage. With a variety of colors and finishes available, you can make your floor match your style.
Preparing Your Garage Floor for Epoxy Coating
Before you start applying the epoxy, it’s really important to prepare your floor. This step is often skipped, but it is the key to a successful coating. First, you need to clean the floor very well. Clean off any dirt, grease, or oil that could cause the epoxy not to stick properly.
Next, repair any cracks or chips in the concrete. You can use any concrete repair product for this.
Cleaning and Repairing the Concrete
Start by sweeping the floor to remove loose dirt and debris. Then, use a degreaser or a concrete cleaner to clean off any oil or grease stains. Any generic concrete cleaner will do. Once the floor is clean and repaired, it’s time to move on to the next steps: testing for moisture and etching the concrete.
Testing for Moisture and Etching
Before applying the epoxy, it’s important to test the concrete for moisture. If the concrete is too damp, the epoxy won’t stick properly. You can do this by taping a plastic sheet to the floor and leaving it for 24 hours. If there’s condensation under the sheet, the floor is too damp for epoxy. Repeat this until you stop seeing moisture. If no moisture shows up on the plastic sheet, then you’re good to go!
Next, etch the concrete. The main reason to etch the floor is because of laitance which is a mixture of fine particles of cement dust, lime and sand that accumulate on the surface of concrete. When there is too much moisture in the concrete, the laitance mixture can look milky. And without a laitance-free surface, your concrete coating won’t adhere.
To etch the surface of your floor, you simply apply a liquid concrete etching solution, following the instructions for drying and cleaning, and you’re good to go. We recommend DRYLOK® Concrete and Masonry Liquid Etch & Cleaner as their product is safer, eco-friendlier and more consistent than other products on the market.
For more information on prepping floors for coating, check out our Floor Preparation service.

Choosing the Right Epoxy Coating Kit
Choosing the right epoxy coating kit is important for a successful project. There are many options available, so it’s important to choose one that suits your needs.
Consider factors like the size of your garage, the condition of your concrete, and your desired finish. Here are some things to look for in a good epoxy coating kit:
- High-quality epoxy resin and hardener
- Clear instructions for mixing and application
- Included tools for application
- Optional color flakes or non-slip additives
Water-Based vs. Solvent-Based Epoxies
There are two main types of epoxy coatings: water-based and solvent-based. Each has its pros and cons. Water-based epoxies are easier to apply and clean up, but they may not be as durable as solvent-based epoxies. Solvent-based epoxies are better against chemicals and wear. However, they can be harder to apply and have stronger fumes.
For more information on the different types of coatings, take a look at our epoxy and polyaspartic service pages.
Not sure how to coat garage floor epoxy and need some help? Creative Coatings would be honored to coat your floor! Get a free quote now by calling us (320)-808-3284 or by contacting us directly on our site!

How to coat garage floor epoxy: The Application Process
The application process for a garage floor epoxy coating involves several steps. Each step is crucial to ensure a smooth, durable finish. But first, before you dive in head first into a sticky situation, it’s time to prepare the floor.
Floor Preparation
This is by far the most important step in the process, failure to properly prep the floor can result in poor adhesion of the epoxy which will reduce it’s lifetime. In order to prepare the floor, you must use a combination of shot blasting, diamond grinding and scarifying. For more information on the process of floor preparation, checkout our floor preparation page.
Mixing the Resin
Now that floor is prepped, you’ll need to mix the epoxy resin and hardener. This should be done according to the instructions provided in your epoxy coating kit. Next, you’ll apply the primer. This is an important step that helps the epoxy adhere to the concrete surface.
After the primer, you’ll apply the base coat of epoxy. This is the main layer that provides the color and texture of your garage floor. Finally, you’ll add any optional color flakes and apply the top coat. This provides additional protection and gives your garage floor a glossy finish.
Tips for Mixing the Epoxy
Mixing the epoxy is a crucial step in the application process. It’s important to follow the instructions provided in your epoxy coating kit. The epoxy resin and hardener must be mixed in the correct ratio. This ensures the epoxy will harden properly and provide a durable finish.
Tips for Applying the Primer and Base Coat
Once the epoxy is mixed, you can begin applying the primer. Use a roller or brush to apply a thin, even layer of primer to the entire garage floor. After the primer has dried, you can apply the base coat of epoxy. This should also be applied in a thin, even layer. Be sure to cover the entire floor, including the corners and edges.
Adding Color Flakes and Top Coat
If you’re using color flakes, sprinkle them onto the wet epoxy base coat. This adds texture and visual interest to your garage floor. Finally, apply the top coat. This is a clear epoxy that provides additional protection and gives your garage floor a glossy finish. It can also enhance the look of your garage.
Curing and Drying Time
After applying the top coat, you’ll need to let the epoxy cure. The curing time can vary depending on the type of epoxy used and the temperature and humidity conditions. It’s important to wait until the epoxy is fully cured before using your garage. This ensures the coating is hard and durable.

Maintenance and Care for Epoxy Garage Floors
Maintaining your epoxy garage floor is simple. Regular cleaning with a mild detergent and a soft mop will keep it looking new. Avoid using harsh chemicals or abrasive tools. These can damage the epoxy coating. If you notice any chips or cracks, repair them promptly. This will prevent further damage and maintain the integrity of the coating.
Common Mistakes To Avoid
Applying an epoxy coating to your garage floor can be a good DIY project. However, there are common mistakes to avoid. One common mistake is not preparing the concrete surface properly. Cleaning and etching are crucial steps for a successful application. Failure to execute this process effectively will decrease the lifespan of your coated floor.
Another mistake is applying the epoxy in the wrong conditions. Temperature and humidity can greatly affect the curing process. Be sure to properly test for moisture prior to applying a concrete sealant.
Lastly, rushing the application process can lead to a poor finish. Take your time to make sure you have a smooth, even coating.
If all else fails: Hire a professional
This article demonstrates the step-by-step process for how to coat garage floor epoxy. If at any point in the coating process you feel that you need more information or you do not feel comfortable with how to coat garage floor epoxy, take a break and get a professional’s opinion. The only thing worse than an uncoated floor is one that is destroyed due to an improper coating.
Want to get an idea of the cost of a epoxy floor before hopping on a call? Check out our guide to how much a garage floor coating costs?
Do you live in Minnesota and are looking for a professional floor refinishing service? Creative Coatings would be honored to coat your floor! Get a free quote now by calling us (320)-808-3284 or by contacting us directly on our site!

Conclusion
Applying a garage floor epoxy coating can enhance the durability and aesthetic appeal of your garage. With the right preparation and application, you can achieve a professional finish. Remember to follow the product instructions, take safety precautions, and allow enough time for the epoxy to cure. Your garage floor will thank you for it.


