Your garage floor takes a beating every day. From parked cars to heavy foot traffic, it can be exposed to a lot. A garage floor coating can protect your floor from damage. Another big benefit is that it can also enhance the look of your garage.
This guide will walk you through the process of applying a DIY garage floor coating. It’s a step-by-step guide designed for DIY enthusiasts.
You’ll learn about the different types of coatings, how to prepare your floor, and how to apply the coating. We’ll also cover safety precautions and how to maintain your new floor. Whether you’re a seasoned DIYer or a beginner, this guide has something for you!
Table of Contents
Why Coat Your Garage Floor?
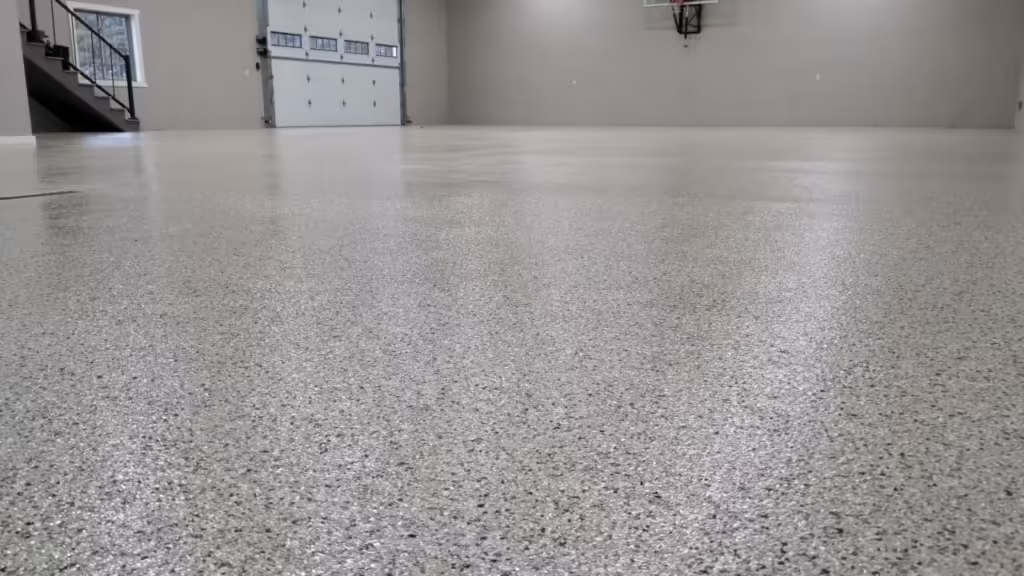
A garage floor coating is more than just a cosmetic upgrade. It provides a layer of protection for your concrete floor. The coating protects your floor from oil spills, chemical stains, and physical damage. It can also make your floor much easier to clean. A well-applied coating can also enhance the look of your garage. It can transform a dull, gray concrete floor into a glossy, attractive surface.
In short, a garage floor coating can extend the life of your floor and improve the overall look of your garage.
Choosing the Right Coating for Your Garage Floor
Choosing the right coating for your garage floor is crucial. The right coating depends on your garage’s use and your personal preferences. For instance, if your garage sees heavy use, you might want a durable coating. If you’re more concerned about aesthetics, you might want to opt for a glossy finish.
Here are some factors to consider when choosing a coating:
- Durability
- Aesthetics
- Ease of application
- Cost
- Maintenance requirements
Epoxy vs. Polyurea Coatings
Epoxy and polyurea are two popular choices for garage floor coatings. Each has its pros and cons. Epoxy is known for its durability and longevity. It’s also relatively easy to apply. However, it can take a long time to cure.
Polyurea, on the other hand, cures quickly. It’s also more flexible than epoxy, which can make it more resistant to cracks. However, it can be more challenging to apply.
For industrial flooring, we sometimes use MMA (Methyl Methacrylate), which has its benefits, which you can read more about by clicking here.
Looking to get your garage floor professionally coated? Creative Coatings would be honored to coat your floor! Get a free quote now by calling us (320)-808-3284 or by contacting us directly on our site!

Preparing Your Garage Floor
Before you start applying the coating, you need to prepare your garage floor. This step is crucial for the coating to stick properly.
First, you should etch the floor, details on that process can be found here. Next, repair any cracks or holes in the floor. You can use a concrete patch for this.
Finally, you need to clean the floor. Remove any dirt or dust that may have been left over after the etching process, this ensures the coating bonding correctly. An in-depth article describing the preparation process can be found here.
Cleaning and Repairing
Start by sweeping the floor to remove loose dust and debris. Then, use a degreaser to clean any oil or grease stains. For cracks or holes, thoroughly grind the surface and apply a concrete patch after cleaning away any dust or debris that may be left over. Apply it according to the manufacturer’s instructions.
After patching, let the floor dry completely. This step is super important for the patch to cure properly and could be the difference between a successful or unsuccessful coating.
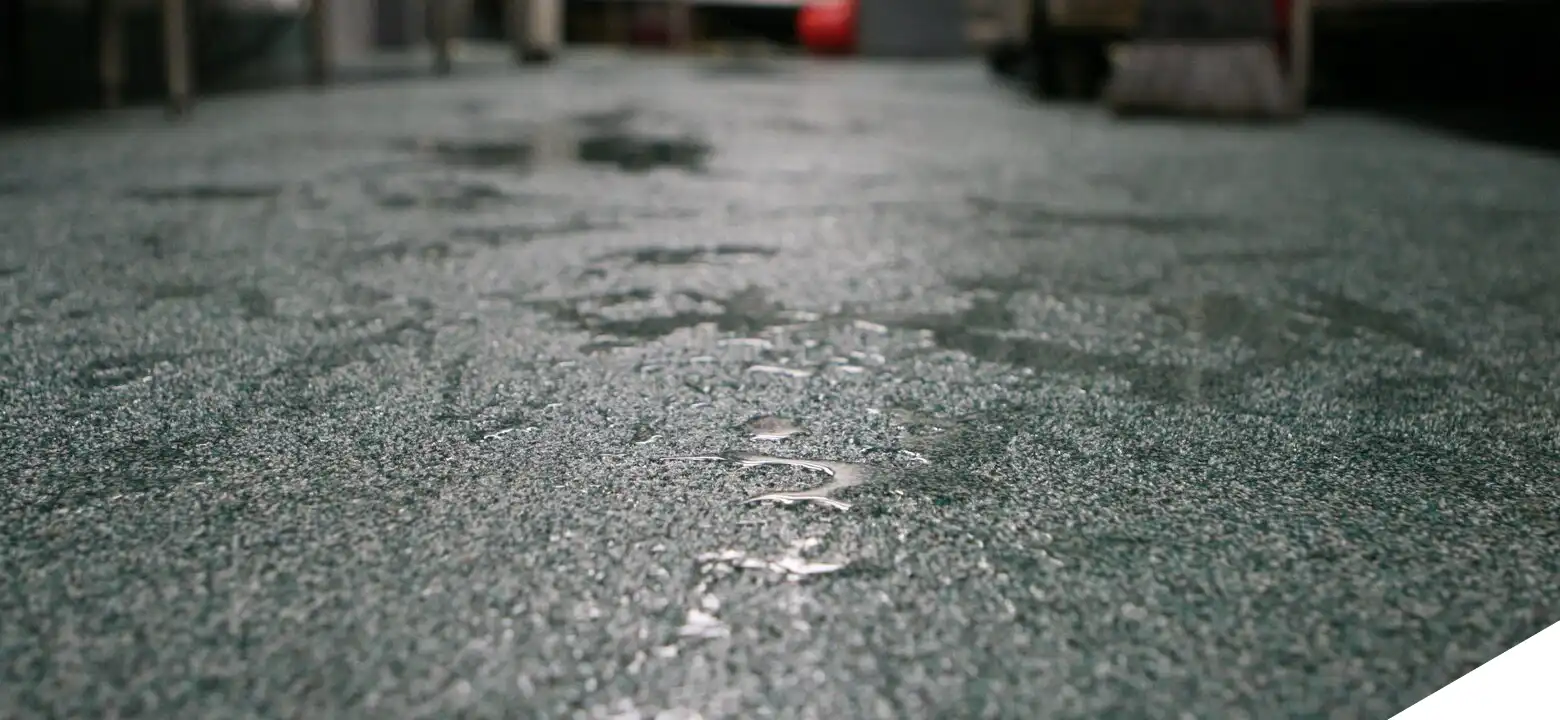
Moisture Testing
Before applying the coating, you need to test the floor for moisture. Excessive moisture can prevent the coating from adhering properly. You can do a simple moisture test using a plastic sheet. Tape it to the floor and wait for 24 hours. If you see condensation under the sheet, your floor has too much moisture. You might need to use a moisture barrier before applying the coating.
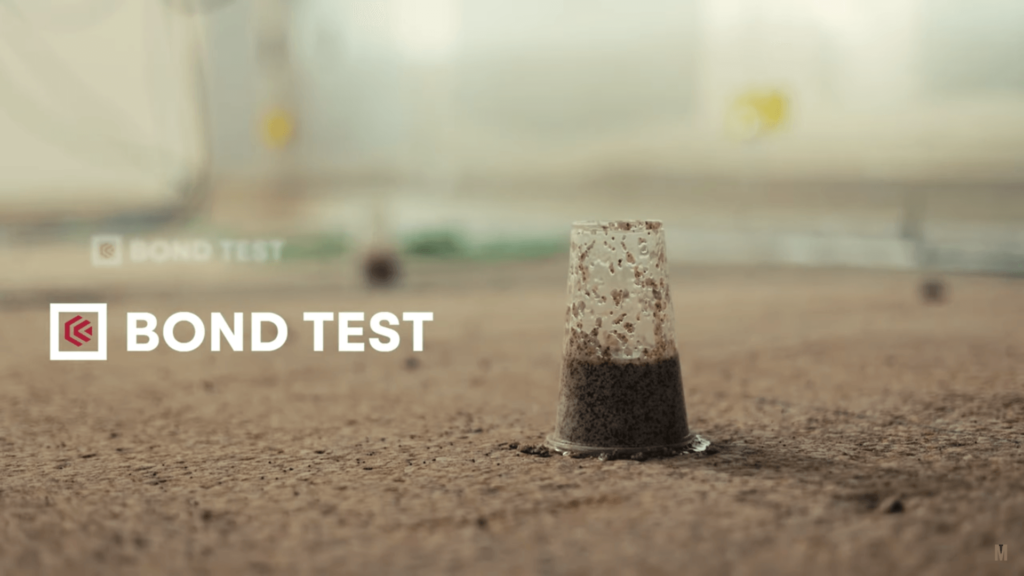
Bond Testing
Applying the Coating
Now that your garage floor is clean, dry and prepared, it’s time to apply the coating. This process requires patience and precision.
Start by mixing the coating according to the manufacturer’s instructions. Make sure to mix it thoroughly for the best results. Next, apply a primer if your chosen coating requires it. A primer can help the coating adhere better and last longer. Then, apply the coating using a roller or squeegee. Make sure to apply it evenly across the entire floor.
Finally, let the coating dry according to the manufacturer’s instructions. This step is crucial for the coating to cure properly.
Mixing and Priming
Before you start applying the coating, you need to mix it properly. Follow the manufacturer’s instructions closely.
If your coating requires a primer, apply it next. Use a roller or brush for this step. Let the primer dry completely before applying the coating. This step is crucial for the primer to work effectively.
Remember to mix the coating again before applying it. This ensures a smooth and even application.
The Main Event: Coating Application
Now, it’s time to apply the coating. Start at one corner of the garage and work your way across the floor. Use a roller or squeegee to apply the coating. Make sure to spread it evenly for a smooth finish. Let each layer dry before applying the next one. This step is crucial for the coating to cure properly.
Adding Color Flakes and Anti-Slip Additives
If you want to add color flakes or anti-slip additives, now is the time. Sprinkle them onto the wet coating. Make sure to distribute them evenly across the floor. This ensures a uniform look and texture.
Let the coating dry completely before walking on it. This step is crucial for the additives to adhere properly.
Curing and Drying Time
After applying the coating, it’s crucial to let it cure properly. The curing time can vary depending on the type of coating used.
Typically, you should wait at least 24 hours before walking on the floor. For vehicle traffic, wait at least 72 hours to ensure the coating has fully hardened.
Maintenance and Care for Your New Floor
Maintaining your new garage floor coating is simple. Regular cleaning will keep it looking fresh and prolong its lifespan.
Use a soft broom or mop for routine cleaning. Avoid harsh chemicals that could damage the coating. For stubborn stains, a mild detergent and warm water should do the trick. Always rinse thoroughly to avoid leaving residue.
Remember, the key to a long-lasting garage floor coating is regular maintenance and prompt attention to spills or stains.
Common DIY Coating Mistakes to Avoid
Avoiding common mistakes can make your DIY garage floor coating project a success. One common error is not preparing the floor properly. Ensure the floor is clean, dry, and free of cracks or damage. Skipping this step can lead to a poor finish.
Another mistake is applying the coating in unsuitable weather. High humidity or low temperatures can affect the curing process. Always check the manufacturer’s guidelines for optimal conditions.
Conclusion: Enjoying Your Transformed Garage Space

With your new garage floor coating in place, you can enjoy a more durable, attractive space. The effort you put into this DIY project will pay off in the long run. Not only will your garage look better, but it will also be easier to clean and maintain.
Enjoy the satisfaction of a job well done!